
Upload and manage files within tasks, proofs, campaigns, and projects.
Adding Files
Associate file(s) with each task, proof, project, or campaign for ease of use and team collaboration.
When adding files into your Workflow, consider where your team will find the most value. Some teams place files at the project or campaign level for easy findability while others place files at the task or proof level to have files where they are most likely to be associated.
On the right-hand side of your project or campaign details panel, and at the top of your task or proof details panel, select the Files tab to upload or manage files.
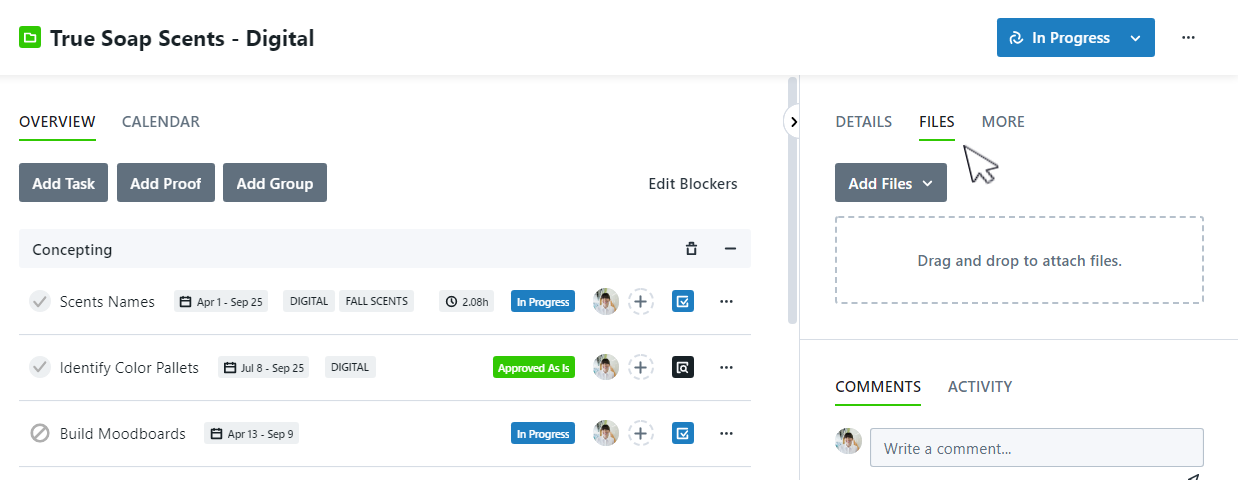

You can drag and drop files from your computer into the available field. If you would like to browse your computer file menu instead, start by clicking on the drag and drop field. You can also browse your computer by clicking Add Files > Browse Files.

Workflow also gives you the ability to attach links as a method of uploading files. To include a link, click Add Files and paste the link in the box below Link to Attachment. Click the Link button to the right to save your attachment.

Once the file and/or link is added, it will display beneath the drag and drop field. The name assigned to the file will default to the original file name. Similar to other fields on the "Details" page, you can click the field to change the assigned name.

Once a file has been added to the files section, you can relabel it by clicking on the file name and typing in a new value. Press "Enter" on your keyboard or click out of the file label to save the new label.

Relabeling a file in Workflow does not rename the file. Downloading the file will provide it with the original file name.
Previewing and Downloading Files
You can quickly download a file by clicking on the "More Options" or (...) button and selecting Download File.
In order to preview a file before downloading, click on the thumbnail to the left of the file card to open a larger preview of the file. Most Image, PDF, and GIF files will display a preview of the uploaded file. All other file types will display a relevant icon.

In the bottom left hand corner, the updated name and original file name will display. To download the file, click on the corresponding icon in the bottom righthand corner.
To close the file preview, click outside of the preview image, click the X in the bottom right-hand corner, or select ESC on your keyboard.

Identifying a File as a Deliverable
Files can also be marked as Deliverables. This makes it easy to identify which files were finalized and provided via your preferred delivery method.
To mark a file as a deliverable, navigate to the Files tab, click the options icon next to your desired file, and toggle on Deliverable.

The file will then be labeled as a "Deliverable".

If files marked as deliverables are associated with a request, the file will immediately be made available via the Request Details page. The Members, shared users, and Requester will receive notifications if they have the "File is added" notification enabled. This keeps stakeholders updated and delivers final files more quickly, even if the entire requested item is not completed.

If you have purchased Lytho DAM, you can send deliverable files directly to the DAM Waiting Room via the Send to DAM option on the more options menu of a file.
Sending Files from Workflow to DAM*
If you are using the Lytho DAM, you can now send files labeled as deliverables directly to the DAM. Select the options icon and click Upload to DAM.

A pop-up toast notification will let you know that your file has successfully been sent to the DAM and a new hyperlink to your file in the DAM will now display next to the label.

Your deliverable file will be moved into the Waiting Room of the DAM for approval.
*Available only to customers with Lytho DAM.
Versioning Files
Workflow will also allow you to store multiple versions of a file. If you would like to update a file with a new version, select the actions (...) menu to view additional options. Click Add New Version to select the updated file from your computer.

Once you have uploaded the new version, you can preview the updated file. From the file preview, you can then view the version history or delete the current version selected.
When a deliverable file is Versioned, the most recent version of the file will be the default download option and will be used as the preview icon. Previous file versions can be downloaded via the version history selector.
Removing Files
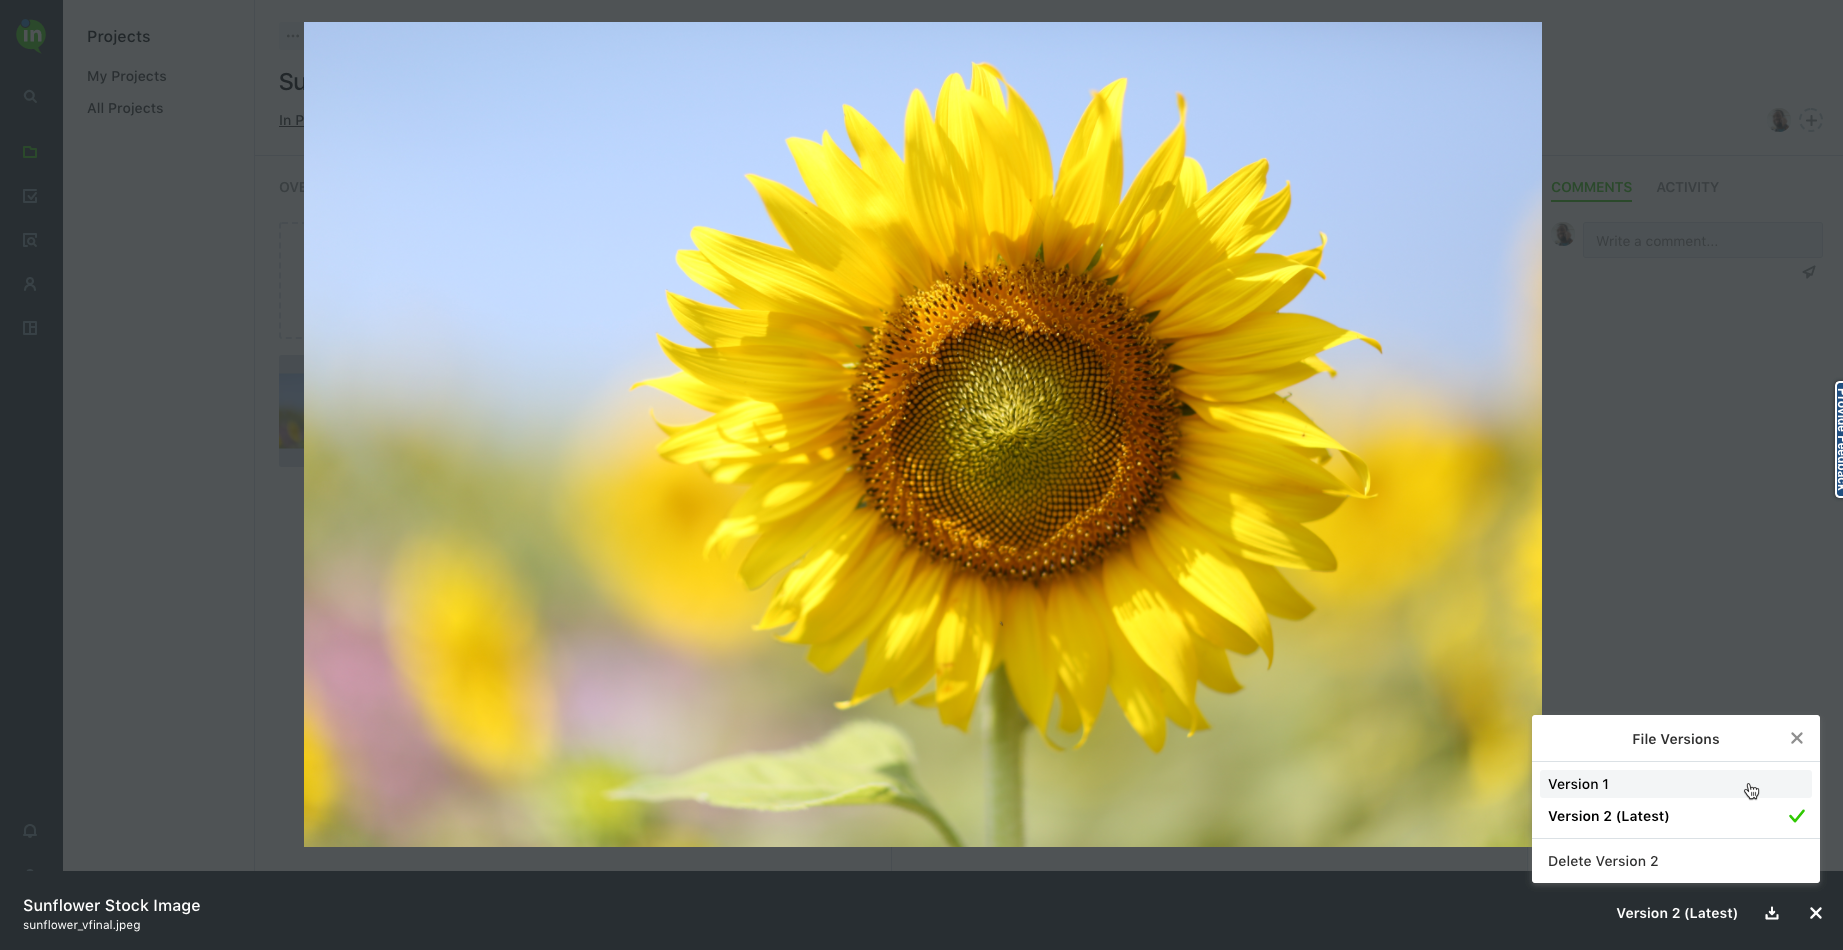
To remove a specific version from the assets version list, you'll first need to preview the file. Once the file is being previewed, select the Version # (Latest) dropdown selector in the bottom right corner of the screen. From this selector, choose the version you want to delete and select Delete Version #.

If you would like to delete a file and all of its associated versions, select the options menu towards the right of the file to view additional options. Click Delete This File to permanently remove it from the files section. This will delete both the latest file and all associated versions.
