
Requests are the basis of every successful project. That's why we built the Form Template Builder to empower customers to create and edit request forms and manage elements of concierge forms on their own. Now, you can get hands-on with your forms to design and experiment with your own request creations.
Accessing Form Templates
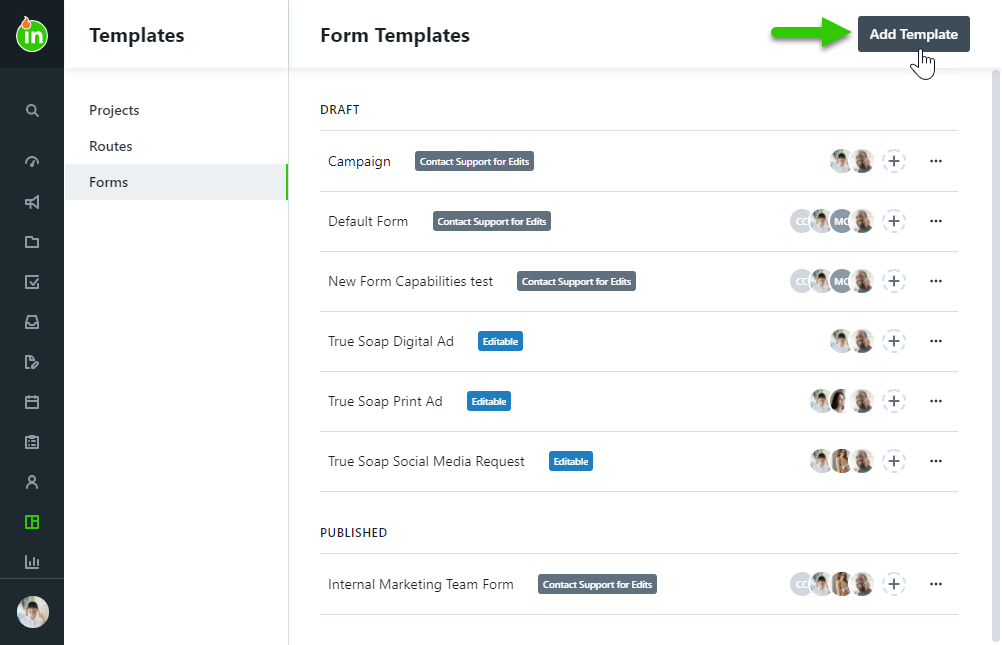
To access the Form Template Builder, select Templates on your global navigation menu and then select Forms.

Forms built in the new form builder will have a blue badge that says Editable. Forms built with the legacy form builder will have a grey badge: Contact Support for Edits. Forms built with the legacy form builder contain advanced logic such as dependent fields or tag calculations. Once logic is added to a form, it can only be edited by our Support team. For changes to these forms, please contact Lytho Support with your change request.
Creating a New Form Template
In the top right-hand corner of the Form Templates list, click Add Template.
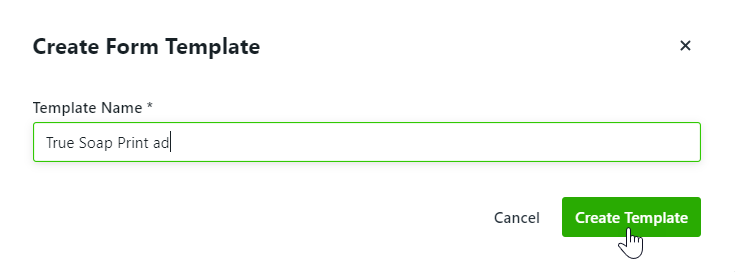
Create a name for your form and click Create Template. The name can be edited once inside the designer. Once published, this is the name your requesters will see in their Request Form list.
Form Building Tools
Standard Fields
Standard Fields can be used multiple times while building a form and give you the ability to provide actionable options to be chosen by your requesters.

The Checkbox allows the requester to check a provided value.

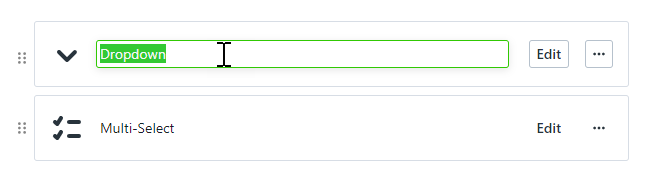
The Dropdown allows the requester to select one value from a list of provided values.

The Multi-Select allows the requester to select multiple values from a list of provided values.

Radio Buttons allow the requester to select one value from a vertical display of provided values.

Allows requesters to select a Date.

Longform Text allows the requester to provide longer text answers and utilize line breaks when needed.

Text Box allows the requester to provide short text answers.

The Number inserts a text field that only allows requesters to enter a number.
Metadata
Metadata options can only be used once per form and provide contextual information for the request, associated work, and reporting.

Due Date provides an area for the requester to select a due date for the associated work. The date selected will be automatically mapped once the request is accepted.

Campaigns* provide an area in which the requester can associate the request with any open campaign.
*Only available to Business and Enterprise Tiers

Project Template allows you to assign a template to be used when creating the associated project. This will be hidden from the requester.

Attachments provide an area for the requester to provide files via upload or through a direct link.

Acceptors are users who have the ability to accept or decline a request once it has been submitted. This Field allows you to configure who the acceptor(s) of the request will be. This will be hidden from the requester in the form.

Tags allow you to determine which tags will be added to the request and associated work. This will be hidden from the requester in the form.
Static Elements
Static elements can be added multiple times in a form and provide form structure and additional information to the requesters.

Columns give you the ability to organize form elements so that they are side-by-side.

Link gives you the ability to provide a hyperlink for the requester.

Section gives you the ability to group fields for easier bulk movement. Sections are not visible to requesters in the published form.

Static Text gives you the ability to provide text instructions or a header.
Custom Fields*
*Only available to Business and Enterprise Tiers
Custom Fields can only be used once per form. If you have Custom Fields set up in your account these will automatically appear in your form tools as available fields, allowing you to collect valuable organization-specific information directly from your requesters.
Field Navigation
Add a field by clicking or clicking and dragging the field into the form creation area.
The field name can be edited by clicking into the text box. This will be visible to your requesters.
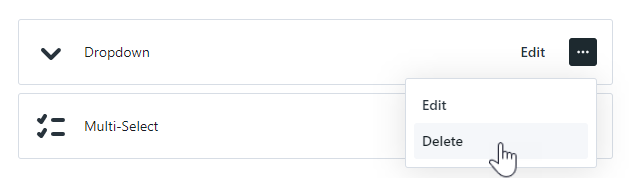
Click Edit to update the selected field. Editing will give you access to additional field customizations such as making a field required. You can also select the actions menu to Edit or Delete the field.
You can drag and drop fields, making it easy to update their placement at any point during the building process.
Required Fields
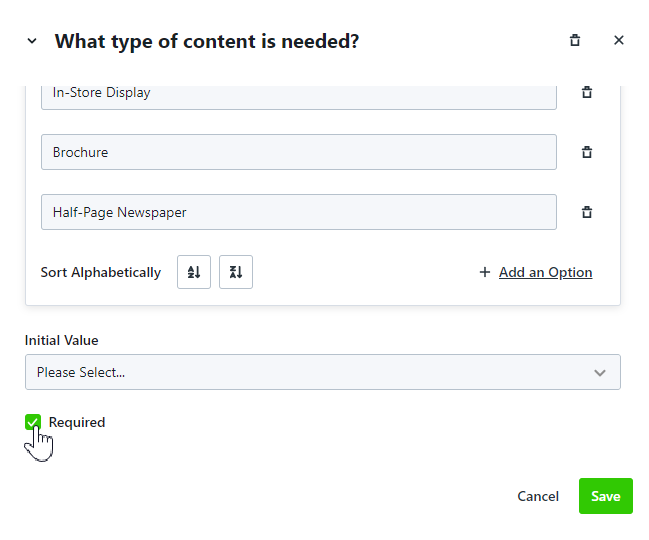
To ensure a request cannot be submitted without field data, select the Required checkbox at the bottom of the field options.
Request Preview
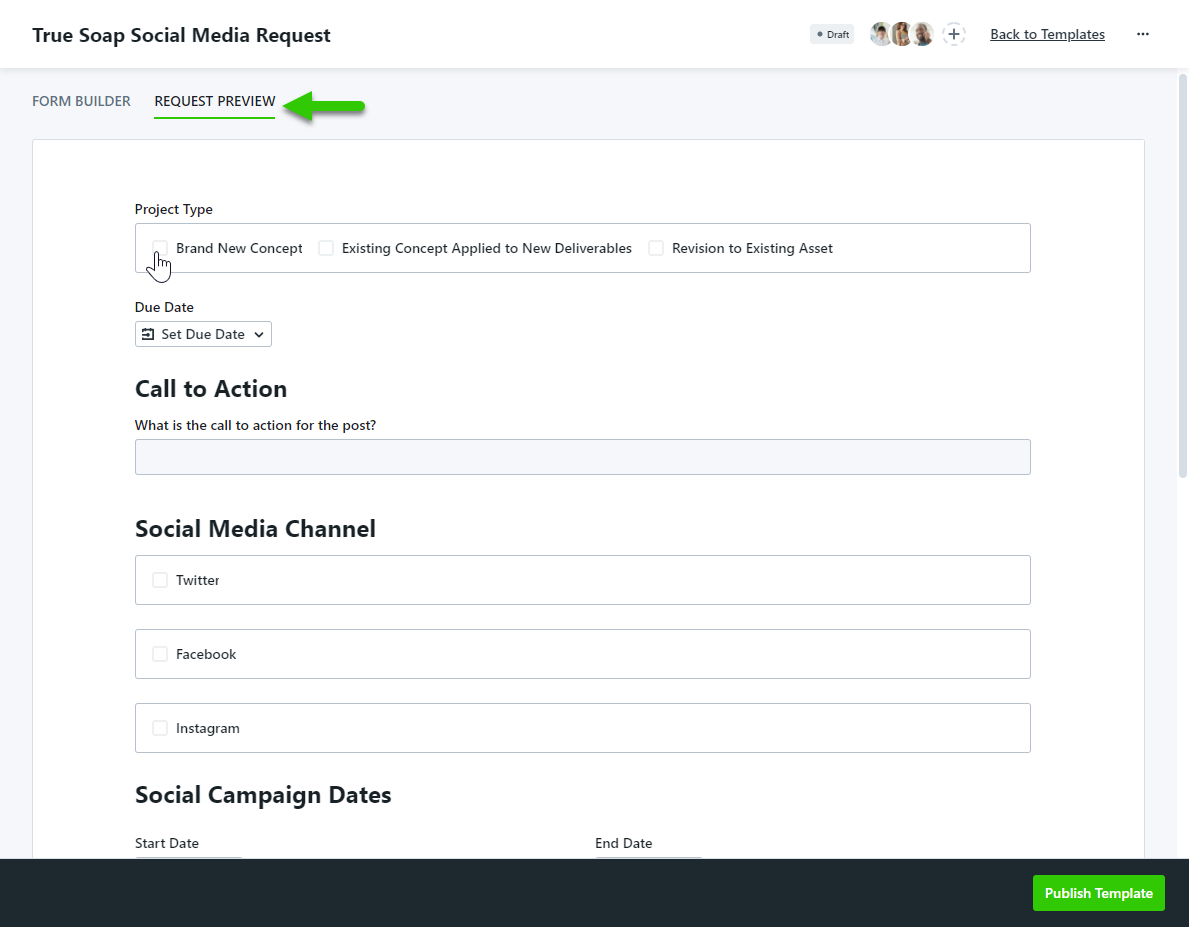
During the building process, you can preview your form at any time by clicking the REQUEST PREVIEW tab. This view is interactive, allowing you to fill out the fields and experience the form as your requesters will.
Save & Publish
Requesters can only see and submit published forms. Your form template will remain in draft status until published and changes will be saved automatically. When you're ready to publish your form, click Publish Template in the bottom right-hand corner of your form builder.

While a form is being edited, it will be unavailable to requesters
Deleting a Form Template
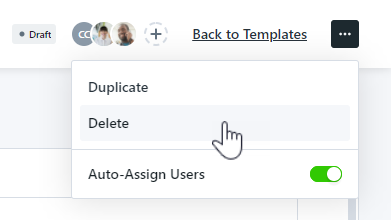
To delete a form, navigate to the action menu in the top right-hand corner of the form builder and click Delete.
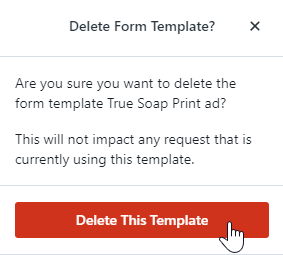
To confirm click Delete This Template.
Deleting a form template is permanent. If you need to temporarily remove access to a form, select EDIT TEMPLATE. This will unpublish the form and move it to your draft section for future updates. As a reminder, forms in draft states will not be available for any new requests.
If you are needing to take away access to a non-editable form, you can contact our support team who can move the from to draft status. You also have the ability to remove all of the members so that the form is not visible to requesters.
Video: Best Practices for the Form Template builder 🎞️
What are the key form components needed to get buy-in from your team and kick off a project successfully? Watch as we uncover best practices for building your forms, and walk you through the form creation process.
Even more - we have compiled a comprehensive checklist to help you every step of the way! Download the interactive checklist HERE.