
What are Roles?
Roles allow you to customize permissions and default settings for the different types of users in your account. From Project Managers to Reviewers, every user must be assigned to a role, which determines their level of access to features and functionality. You can create new roles to reflect your account's unique organization.
Role Types
Admin
All roles can be edited apart from the Admin. This role holds all available permissions and is the only role type that has the permission, Manage Admin Users. You must be an Admin in order to create or edit additional Admin users.
Team Member
Team Member roles allow users to access internal account information, which could include projects, tasks, proofs, and account settings. Team Member role types can be assigned any of the available user permissions except for Manage Admin Users.
Stakeholder
Stakeholder roles allow external users to submit requests and/or provide feedback and approval statuses during a review. They cannot see any project, task, or proof information. Users with this role type are free and unlimited on your inMotion account.
Creating a Role
By default, ignite provides you with four predetermined roles: Admin, Project Manager, Team Member, and Reviewer. Apart from the Admin role, you can further customize these roles or create your own.
To create a new role, select your avatar icon in the bottom left of the global navigation menu and choose the Account Settings option.
Access to Account Settings is controlled by the Manage Account Settings permission.

From the Settings sub-navigation, select Roles & Permissions. Click Add Role from the top right-hand side of the page.
Provide a role name, description, and role type. You can copy the permissions, default notifications, and default options settings from another role to initiate the new role. Otherwise no permissions will be assigned upon creation. Finalize your submission by selecting Create Role.

You will be able to update the name or description of the role at any time.

Assigning Permissions
Once you have created the role, you will need to assign the relevant permissions in order to define the role's level of access. From the new role section, select Permissions.

Select the permissions that you would like to add or remove from the role and click Save.
Selecting Default Notifications
Ensure any new users you create get started with the best default notifications! Choose the notifications you would like each role to have enabled by default.

More granular notifications are available to give you more precise control over default notification settings. Select the dropdown menu to the right of the notification select or deselect the work type.

Set notification preferences, including email frequency and those related to dependencies, under Additional Preferences at the bottom of the page.
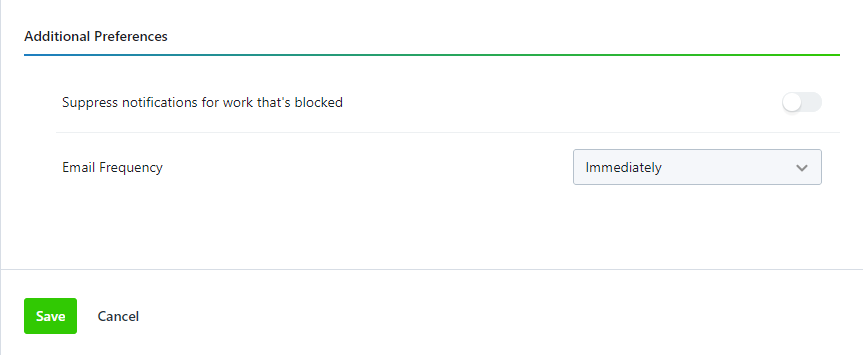
Select Save when complete.
Users will still be able to override default settings to update their own notifications options.
Automatic Membership Options
Ensure that Team Members are added as members to work items when they need to be in the Membership tab.

Select Save when complete.
Users will still be able to override default settings to update their own membership options.
Role Preferences
Save your team time and ensure time is categorized accurately by selecting a default time category* to be applied to any new time entries in the Preferences tab.

*Available only for Business and Enterprise Customers
- This tab will only be available if you have the Time Tracking feature and Time Category subfeatures enabled.
- Users will still be able to override default settings to update their own default time category.
Deleting a Role
To delete a role, select the role you'd like to remove and select the trash can icon.
If there are any users assigned the role you are attempting to delete, the system will ask you to choose an existing role to reassign them to. Any applicable users will be logged out at that time.

Changing User Roles
To change a user from a Stakeholder to a Team Member or vice versa, you do not need to create a new user record. Instead, you can update their existing record to reflect the new role.
If you're trying to change a Stakeholder to a Team Member but don't see any of the Team Member roles in the Role dropdown, that indicates the account doesn't have any user seats available. You can contact inMotion about adding more by clicking Request More Seats in the Team Members tab.
