
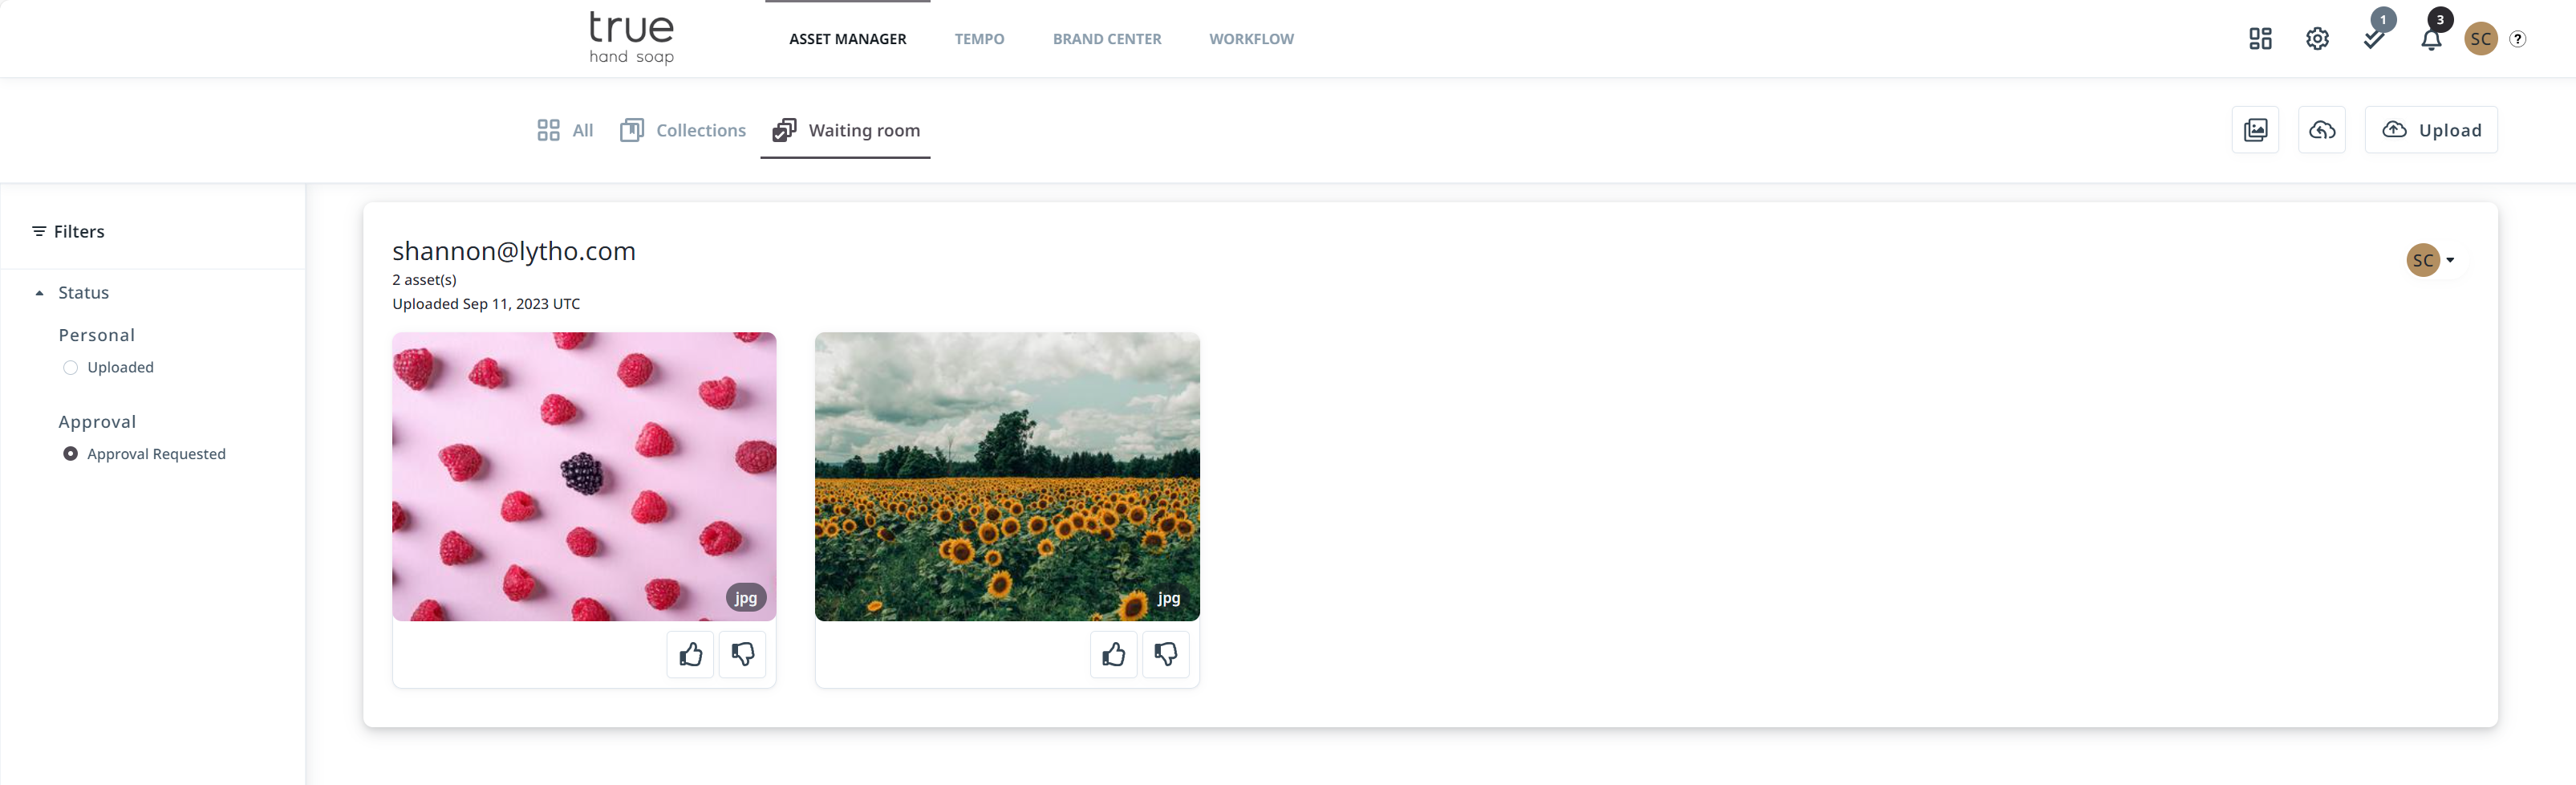
Uploaded assets are added to the waiting room to add tags, planning dates, permissions, etc. before saving to the asset manager or sending for approval.
Adding tags and permissions in this stage is highly recommended because assets with tags will be easier to find in the asset manager and assets without permissions will be accessible for all users.
Waiting Room
Select Upload in the upper right corner of the asset manager and select from your local files. Once your file has been uploaded you'll be brought directly to the waiting room where you can edit your asset(s).

You also have the ability to upload assets directly in the waiting room. Select Upload from computer, drag and drop a file into the box, or click Upload in the upper right corner.

Select the asset(s) to reveal the edit bar. Click the carat in the right corner to expand or shrink your options.
Learn more about editing options here.

Once your asset is ready for upload you have a few options depending on your role. Save your asset(s) directly in the asset manager by selecting Save in the Asset manager or click the save icon on the asset or in the edit bar.

If you do not have the option to save, Select Send for approval. Individual assets can be sent for approval by clicking the paper airplane (Send icon) in the bottom right corner of an asset,

Request for Upload
The Request for upload feature allows your users to generate a link allowing anyone, both internal and external to your organization, to upload assets to your DAM. From the All page of the Asset Manager, select the cloud icon with the bent arrow (Request for upload).

When the Request for upload menu opens, select your expiration date, and whether you will send the request via email or through a unique link.

From the same menu, you can pre-assign tags and permissions to any assets uploaded using this request.
Only users assigned the "Create upload request" rule within their user role can create links with this feature.
Approving Assets into the Asset Manager
Whether you're an Administrator or Stakeholder, if you upload an asset, it will need to be approved in the Waiting Room. The approver is determined by who uploaded the asset and your DAM's User group structure.
Assets in the Waiting Room
When assets enter the waiting room, they will enter into one of two areas:
- Personal - If you are someone who has the "Approve assets" rule, any asset you upload will enter your own private waiting room. These assets are only accessible to you and can only be approved, declined, tagged, or otherwise edited by you.
- Approval - Assets in this space are accessible to any users with the "Approve assets" rule. Any approver may approve, decline, tag, or otherwise edit these assets.
Who Approves an Asset in the Waiting Room?

Once an asset has been uploaded, the system will decide who is required for approval based on a a few factors:
- If an uploader has the "Approve assets" rule, any asset that they upload will enter their own private waiting room. No other approvers will be notified or have access to these assets until they've been approved into the Asset Library
- If an uploader does not have the "Approve assets" rule, but is in a User group with someone who does have the ability to approve, the approvers in their group will receive a notification that assets have been submitted into the waiting room.
Any user with the ability to approve can still access these assets in the waiting room. Group members uniquely receive notifications.
3. If an uploader does not have the "Approve assets" rule and does not have anyone in their User group who can approve, notifications will be sent to all users in the DAM who are able to approve assets.