
Uploading Review Assets
Any files in need of review can be uploaded as assets and sent out for review and approval.
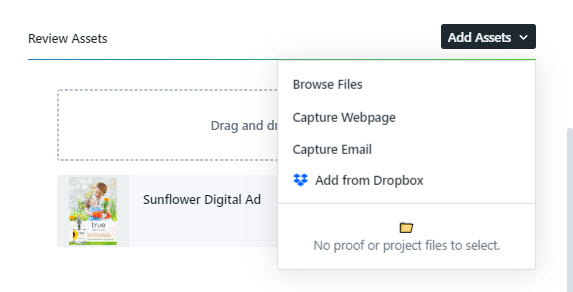
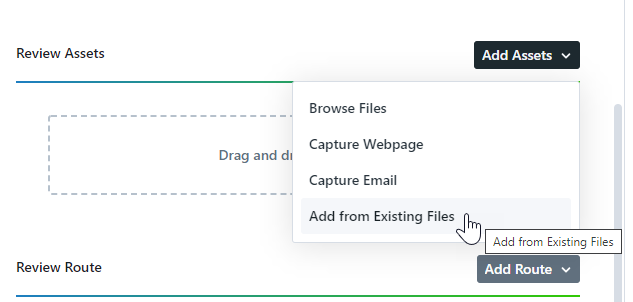
There are a few ways to upload review assets: you can drag and drop files from another source on your computer or select Add Assets to upload files with the following options:
- Browse Files from local storage
- Capture Webpage
- Capture Email
- Add from Existing Files
- Add from a configured storage integration
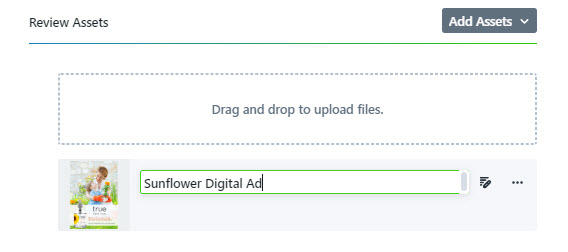
Once the file is uploaded, it will display in the Review Assets area of the proof details. The name assigned to the review asset will default to the original file name. Click the field to change the assigned name, which will display to the reviewer in the review environment.
Any user with access to the proof can add notes, instructions, or annotations in the review environment before the proof is sent. This allows the designer or team member to provide context, attach reference files, and additional information to the reviewers as necessary.
Click the pencil icon to the right-hand side of the asset file to add asset notes in the review environment. This will open the review in a new tab of your browser window. From the review environment, you will be able to add general comments and/or annotations with associated comments.

From the actions menu to the right of the review asset, you can download the file or remove it from the proof.

Having trouble uploading files as expected? Be sure to follow our File Preparation Guidelines.
Browse Files from local storage
Drag files into the drag and drop area to upload an asset to the proof. You also have the option to click the drag and drop area to open and select files from your computer.
Capture Webpage
Select Capture Webpage from the Add Assets dropdown menu and insert the URL. Workflow will access the site and take an image to pull into the review and approval environment. A link to the site will be provided to the reviewers so they can validate buttons and interactive experiences.
Capture Email
You have the ability to capture emails inside of Workflow. Begin by copying the company specific email address located inside the Capture Email option of the Add Review dropdown list.
Send your email asset to the copied address. This will work with any marketing email automation platform using the 'test' email functionality.
When sending the email for capture, the capture email address must be in the To field. The email will not pull into Workflow if cc'd.
The email will then appear in the list of email assets and you can select for review. By default, the name of your email asset will be the email's Subject Line.
Before sending out for review, you have a few options to edit or add details including From, Subject, Alternate Subject Line, Segment, and Release Date. Select SHOW DETAILS under the name of the email asset to update these fields.

Fill in the details of your choice and select Save when complete.

Inside of the review environment your reviewers will see the email design as well as the subject line, email sender, and other fields you choose to populate.

Your reviewers will have the ability to view the email within their browsers and test any links by selecting the link on the right side of the asset, below the approval status.

Add From Existing Files
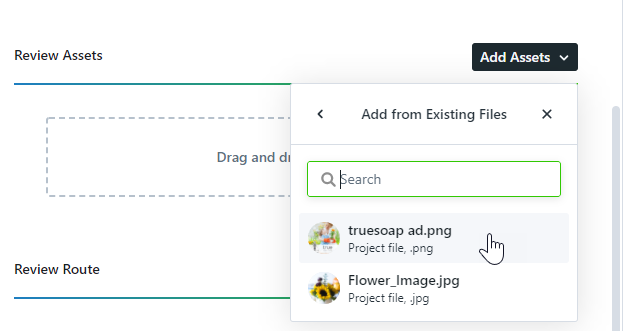
You have the ability to add files that have been uploaded to the proof or linked project for review. Select the option Add from Existing Files in your Add Assets dropdown menu.
Select a file to add as a review asset.
Once a file has been sent for review, it cannot be re-uploaded as an asset in future proofs.
Storage Integration
If you have storage integrations set up in your account, they will appear as an option in the Add Files dropdown. Select the integration to browse its contents and upload assets to your proof.
Reordering Review Assets
Drag and drop functionality allows you to reorder your assets prior to sending out for review. Hover over a review asset to reveal the mouse grabber and drag to the desired location.
