
Metadata options can only be used once per form and provide contextual information for the request, associated work, and reporting.
Due Date Field
Due Date provides an area for the requester to select a due date for the associated work. The date selected will be automatically mapped once the request is accepted
You can restrict the dates your requesters are able to select by checking Limit Earliest Date and/or Limit Latest Date. Click the plus and minus buttons to increase or decrease the number of business days needed.
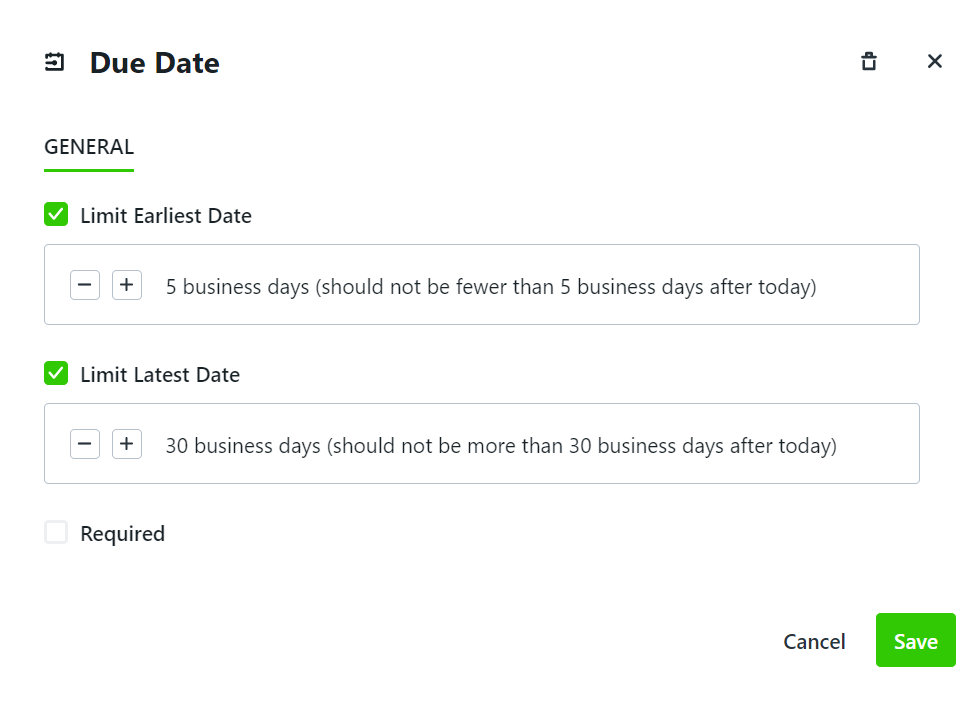
Click Save when complete.
Campaigns* Field
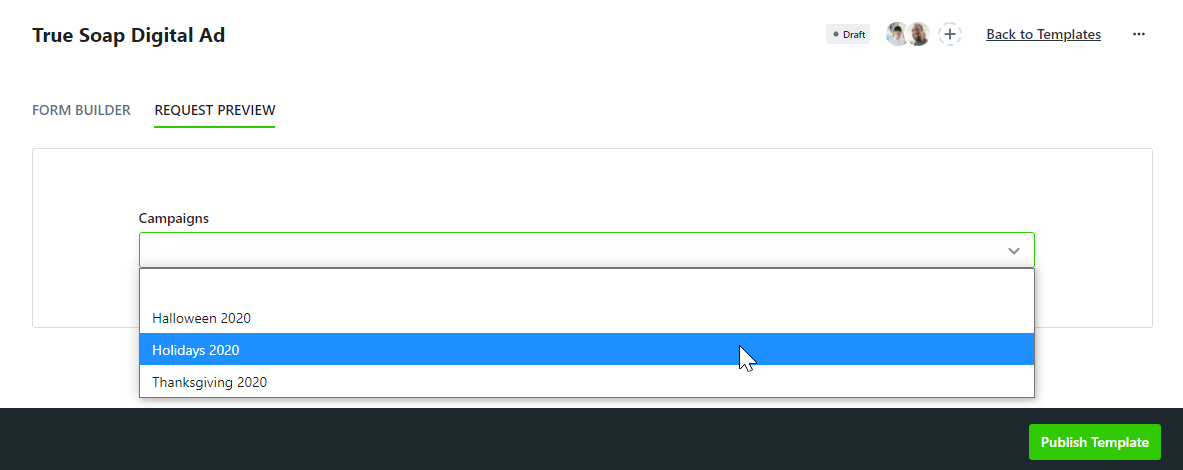
The Campaign field provides an area in which the requester can associate the request with any open campaign.
Guide your requesters to provide the information you need by providing Helper Text. Click into the text box to type and click anywhere outside of the box when finished.

Set a specific campaign to be initially selected by clicking the dropdown menu below Initial Value and selecting a campaign. Your requester will still be able to choose a different campaign from the list of active and uncompleted campaigns.

Click Save when complete.
This is how your Campaign field will look to your requesters:
*Only Available for Business and Enterprise customers
Attachments Field
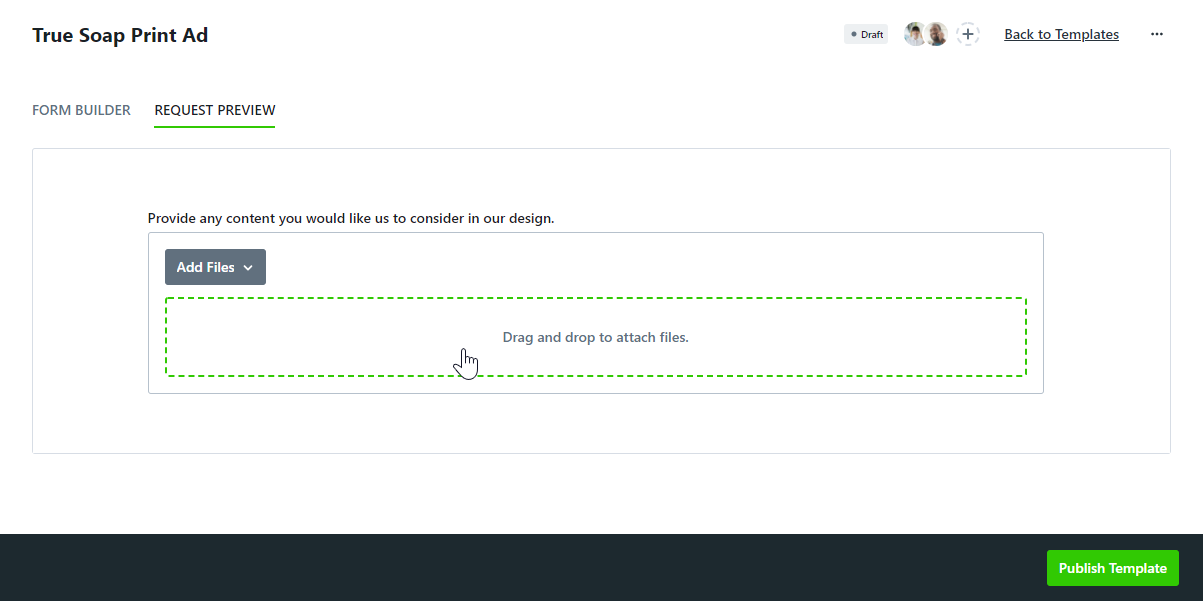
The Attachment field provides an area for the requester to provide files via upload or through a direct link.
Click into the text box below Label to add a field name. This will be viewable to your requesters.
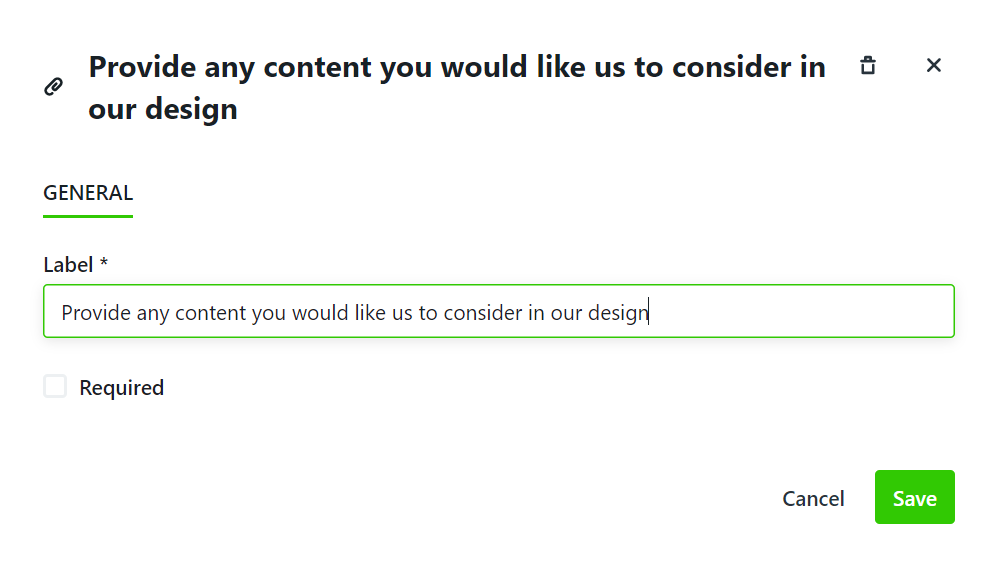
Click Save when complete.
This is how your Attachment field will look to your requesters:
Project Template Field
You have the ability to associate a Project Template with your requests that will be used to create the associated project.
While this field is not viewable to your requesters, you can add Helper Text for your own reference while building or editing your form.

Select a Project Template from the dropdown menu below Initial Value.

Click Save when complete.
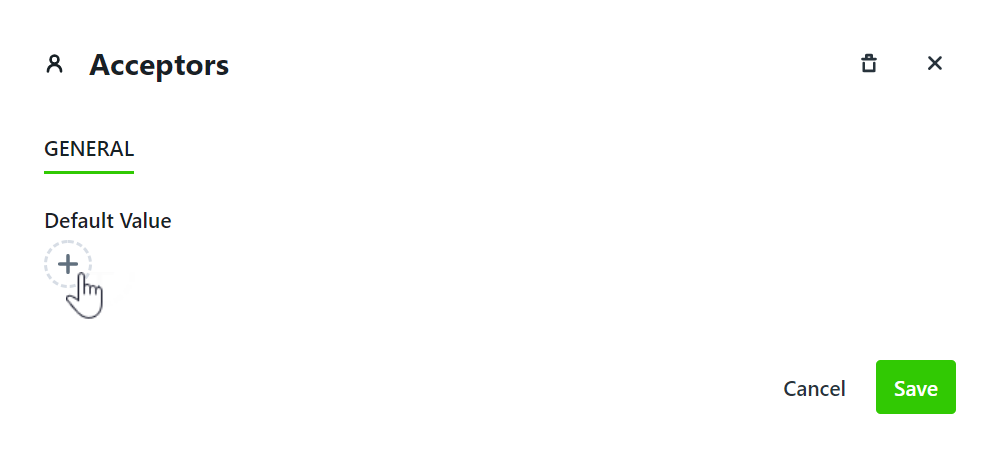
Acceptors Field
Acceptors are team members who are notified when a request is submitted using a particular form and have the ability to accept or decline a request once it has been submitted. This field allows you to configure who the acceptor(s) of the request will be. This will be hidden from the requester in the form.
To add an acceptor to a form, they must have the Accept Request permission. This can be managed in your account settings under Roles & Permissions.
Click the plus button under Default Value to add acceptors.
Click on the users name(s) to add them as acceptors. A check mark will appear next to their name to indicate they have been added.
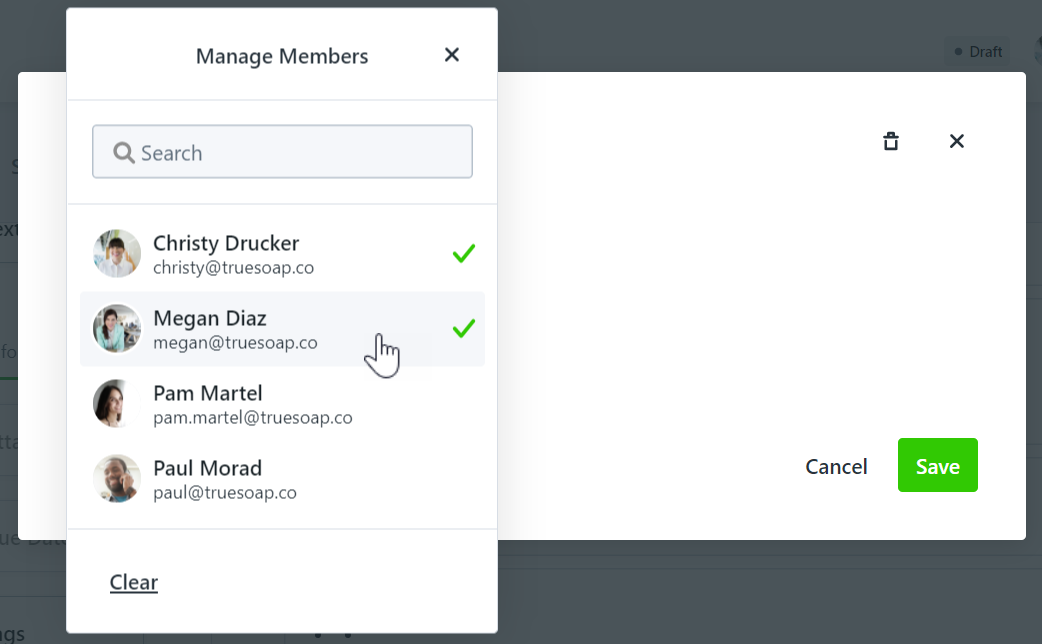
Click anywhere outside of the Manage Members box to update your selection.
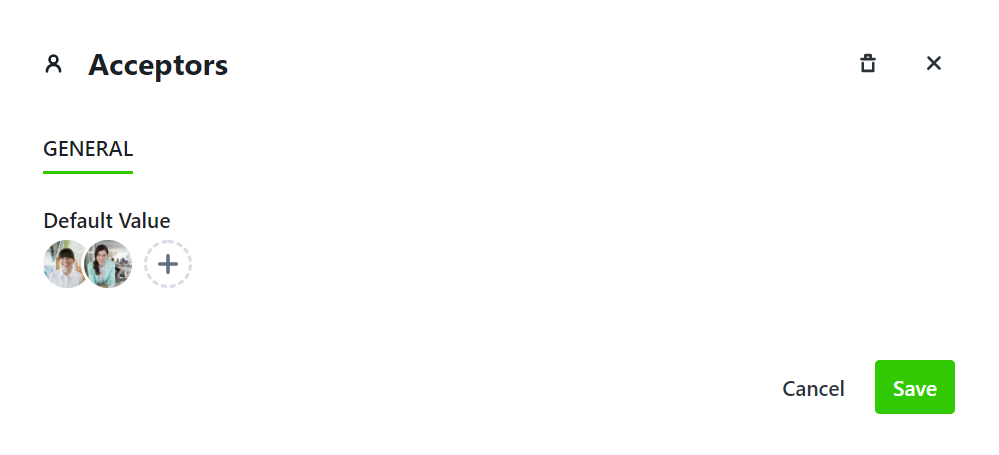
Click Save when complete.
Tags Field
Configure tags that will be automatically added to the request and associated work. This will be hidden from your requesters in the form.
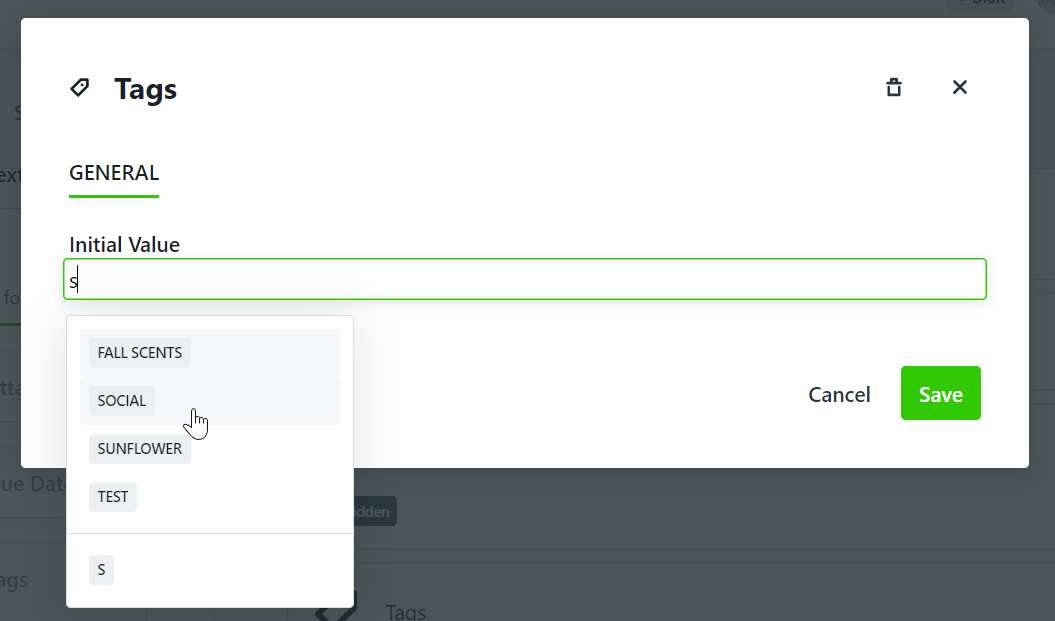
Click into the text box below Initial Value to add tags to your request form.
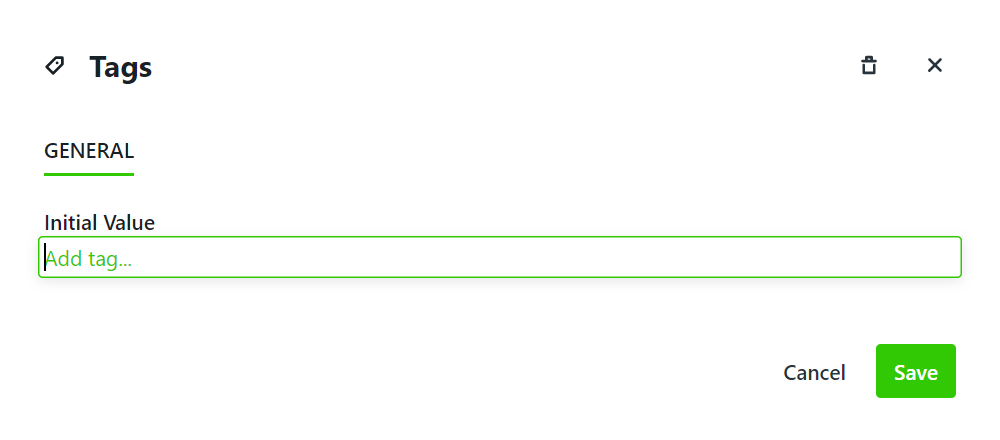
As you begin typing, tags already added in your account will be available for selection.
You also have the option to create a new tag. Enter a name for your tag and select the newly created tag.
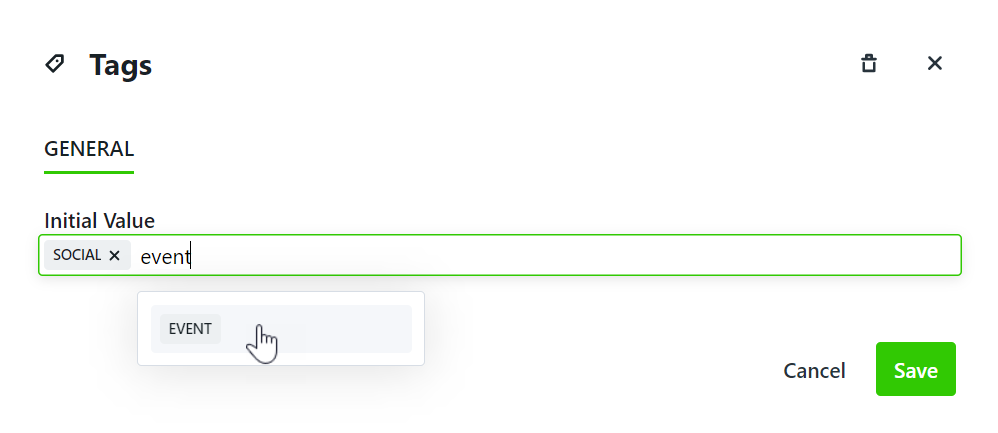
Click Save when complete.